
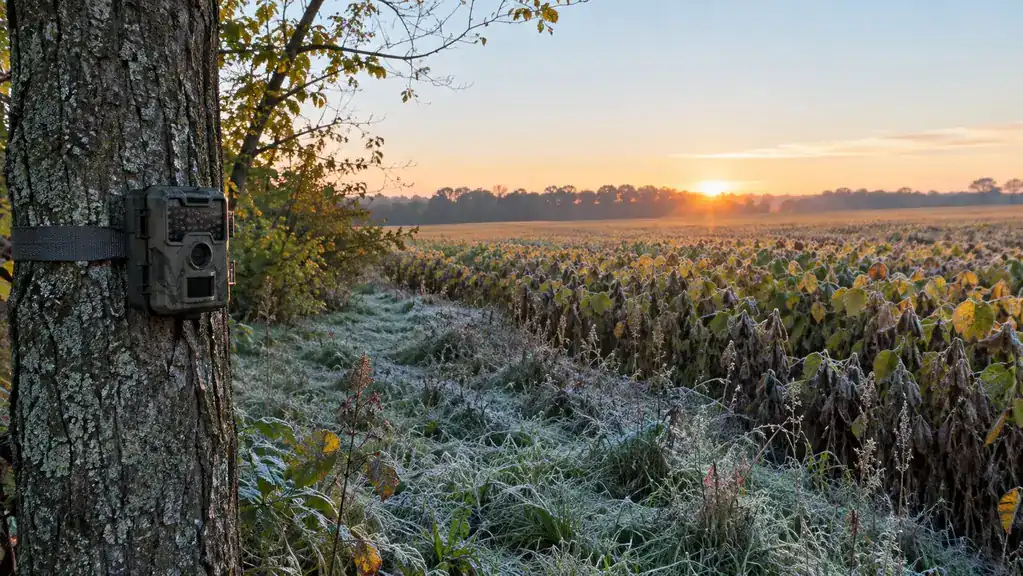
If you hunt whitetail on public land or a small piece of private ground, you already know the feeling. You pick a spot in August, convince yourself the deer are using it, and then sit there opening morning watching nothing but squirrels. I did that for years. Then I started running a WOSPORTS trail camera, and the difference is night and day. It is not magic. It is just information. You find out where the deer actually are, not where you hope they are.
I am Cole Brandt. I live outside Mitchell, South Dakota, and I have hunted whitetail with a rifle and a bow for most of my 51 years. I work as a county road maintenance foreman, so my hunting time is early mornings and weekends. That means I cannot sit in a stand all day to learn a property. A trail camera does the sitting for me. This guide walks through how I scout whitetail with a WOSPORTS trail camera before opening day, step by step, including the mistakes I made so you do not have to make them.
Know Where the Bucks Are Before Opening Day
A WOSPORTS mini trail camera gives you eyes in the woods 24 hours a day. Set it up this weekend and check it in a week. You will know exactly which trails the deer are using.
Amazon Check Today's Price on Amazon →Step 1: Pick the Right Location, Not the Most Convenient One
The biggest mistake I see new trail camera users make is hanging the camera where they can get to it easily. They put it 20 yards off the truck path or right behind the barn. That tells you what the deer do near your truck, which is nothing. You want the camera where the deer are, and that means you have to do a little walking and a little thinking first.
Start by looking for the three things deer need: food, water, and cover. On the farm ground I hunt, that means the edge of a soybean field, a creek bottom, and a patch of thick cedars. The deer move between those three all day and all night. Find the funnel where two fence lines meet or where a strip of timber narrows, and you have found the spot. I hung my first WOSPORTS camera on a fence corner where a draw comes out of the beans. The first card pull gave me 14 photos of does and a young 8-point. That told me more than a month of sitting in a stand ever had.
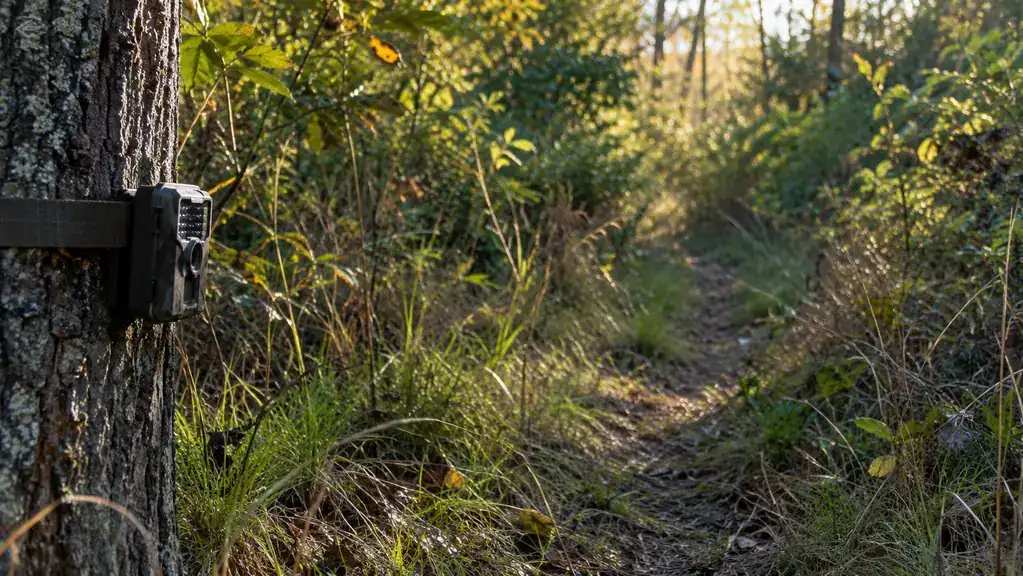
One more thing on location. Set the camera back from the trail, not right on it. I like 8 to 12 feet off the trail, aimed at a slight angle. If you set it straight down the trail, you get a photo of a deer's chest and nothing else. Angled, you get the whole body and the rack. The WOSPORTS has a 30MP sensor and a 1080P video mode, but none of that matters if the camera is pointed at the wrong spot. Take the extra five minutes to clear a few branches and set the angle. It pays off on every card pull.
Step 2: Set the Camera Height and Angle Like You Mean It
Height is the detail everyone gets wrong. I hung my first camera at chest height, about five feet up, and got a week of photos of the tops of deer heads and empty sky. The deer did not care about the camera. The angle was just bad. For a whitetail trail camera, I want the camera about waist high, 30 to 36 inches off the ground, aimed slightly downward at the trail. That catches the deer's body and head in the frame, and it catches the rack on a buck.
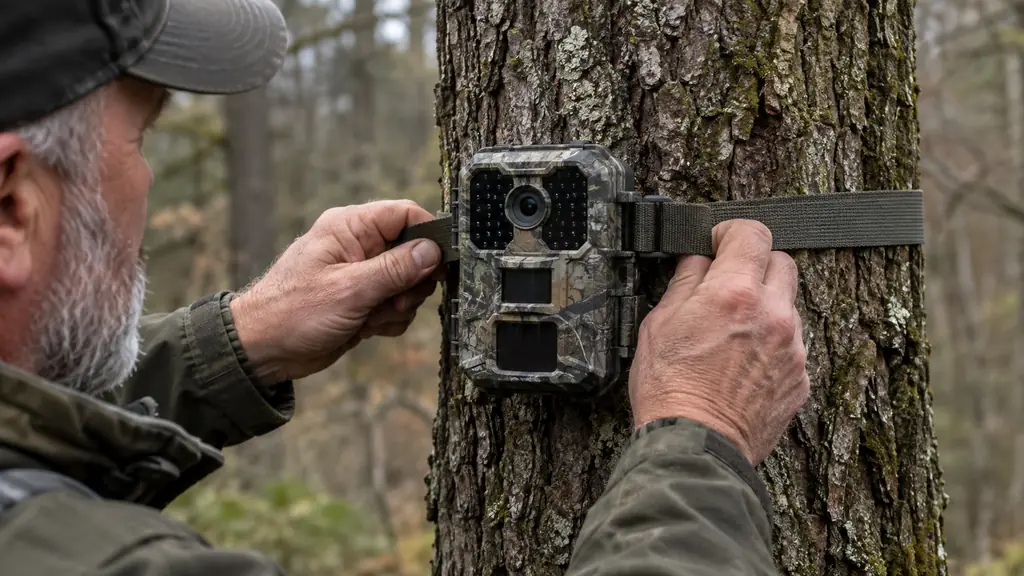
The WOSPORTS mini trail camera comes with a strap that wraps around the tree. I have used that strap on cedars, oaks, and fence posts, and it holds fine. I also carry a couple of zip ties in my pack because sometimes the strap is too long for a small tree. Wrap the strap twice and pull it tight. A camera that wiggles in the wind takes blurry photos and false triggers. I learned that the hard way on a windy October night. The camera took 200 photos of a swaying branch and missed the buck that walked past at 2 AM.
Angle the camera down just a touch, about 10 to 15 degrees. You are not trying to photograph the skyline. You are trying to photograph the trail. And here is the part I wish someone had told me years ago: clear the ground in front of the camera. A few tall weeds moving in the wind will trigger the sensor all night long. I spend two minutes pulling grass and small branches in front of every camera I hang. That one habit cut my false triggers by more than half.
Step 3: Set the Camera Up the Right Way the First Time
The WOSPORTS camera has a menu that looks intimidating the first time you open it, but you only need to set a few things. I set the photo resolution to 30MP, the trigger speed to fast, and the interval to 30 seconds. That gives me a photo every time a deer walks through, without 400 photos of the same doe standing there chewing. For video, I set it to 1080P at 30 seconds. That is enough to see which way the deer is heading and whether there is a buck behind her.
Set the date and time before you hang the camera. I cannot tell you how many times I have pulled a card and seen a great buck photo with the time stamp reading January 1, 2020. That makes the photo useless for figuring out patterns. The WOSPORTS takes about two minutes to set up, and the menu is straightforward. I set the date, the time, the photo mode, and the interval, then I test it by walking in front of the camera. If the red light blinks and the camera clicks, it is working.
One thing I will tell you straight: the WOSPORTS is not a cellular camera. You have to walk to it and pull the SD card. That is a feature, not a bug, for a lot of us. It means no monthly subscription and no cell signal required. I have two of these cameras and I check them once a week. That is plenty for pre-season scouting. If you want real-time alerts to your phone, you need a cellular model, and I talk about that in my comparison of the WOSPORTS mini versus the cellular trail camera. For most hunters on a budget, the card pull is fine.
Step 4: Check the Camera Without Burning Your Spot
This is the part that separates hunters who see bucks from hunters who just take photos of empty trails. You have to check the camera without leaving your scent all over the area. I pull cards at midday, when the deer are bedded down, and I approach from downwind. I wear rubber boots and I do not touch the tree any more than I have to. I pull the card, swap in a fresh one, and get out. The whole visit takes under five minutes.
I made every mistake in this department. I checked a camera in the evening, walked straight to it from the field edge, and left my scent all over the approach trail. The next card pull showed the deer had shifted their movement by 50 yards. They did not leave the area. They just changed their route. That is exactly what you do not want three weeks before opening day. Now I plan my camera checks like a hunt. I park far away, walk the long way, and check at noon. It costs me an extra 20 minutes and it keeps the deer using the trail.
I also carry a small notebook in my vest. I write down the date, the time, and what the camera is pointed at. When I pull the card, I write down what I expect to see. That sounds like overkill, but it keeps me honest. If I expect a big buck and the card shows only does, I know I need to move the camera. If the card shows a shooter, I know exactly where to hang my stand. The notebook costs a dollar. The information is worth a lot more.
Step 5: Read the Photos Like a Hunter, Not Like a Photographer
The WOSPORTS camera stores photos on a standard SD card, and I pull it into my laptop at the kitchen table. Deb rolls her eyes, but she knows the drill. I sort the photos by date and time and look for patterns. I am not looking for the biggest buck in the first week. I am looking for the buck that shows up on the same trail at the same time three weeks in a row. That is the buck I can hunt.
Here is an example from last season. I had a camera on a creek crossing that ran between a cornfield and a bedding area. The first week, I got photos of a heavy 10-point at 6:40 AM and again at 7:10 PM, four days apart. The second week, he showed up at 6:35 AM and 7:05 PM. The third week, 6:30 AM and 7:00 PM. That is a pattern. He was moving through that crossing on a schedule. I hung my stand 60 yards downwind of the crossing, and on the third Saturday of the season I had him at 6:45 AM. I passed him because he was a year younger than I wanted, but I knew exactly where he would be. That is what trail camera scouting does.
Do not overthink the photos. You do not need a spreadsheet. You need to know three things: which trail the deer are using, what time they are using it, and whether there is a buck worth hunting. The WOSPORTS gives you all three. I have also used the video mode to see a buck working a scrape. The 1080P video is clear enough to see the tine length and the body size, which is all you need to make a decision.
What Else Helps
A trail camera is the backbone of my pre-season scouting, but it is not the only tool. I still glass field edges with my binoculars in the evening. I still walk the timber after the first hard frost to look for rubs and scrapes. The camera just tells me where to look. I also use a small hand saw to clear shooting lanes, and I carry a roll of flagging tape to mark the trail to my stand. None of that is fancy. It all works.
If you are just getting started, buy one WOSPORTS camera and learn it before you buy a second. I ran a single camera for a full season and learned more than I had in the previous five years of hunting blind. The second camera came the next year, and the third the year after. Now I have three cameras covering about 300 acres of public land and a friend's farm. That is enough to know where the deer are without turning the whole property into a surveillance state.
The camera does not kill the deer. It just tells you where the deer is. You still have to show up, sit still, and make the shot.
Get Eyes in the Woods This Weekend
Stop guessing where the deer are. A WOSPORTS trail camera is the cheapest scouting partner you will ever have. Set it up Saturday, check it next Saturday, and hunt with confidence.
Amazon Check Today's Price on Amazon →